DIY colored glass bottles

I’m craving pastels. I’m craving florals. I’m craving spring!!! Since the weather isn’t cooperating I decided to do a springy home project. First I gathered up all my clear glass vases, jars, and bottles and picked which sizes and shapes I wanted to use. (I buy fun stuff like this at goodwill and save them for spontaneous projects). Then I got out my paints and decided on a color scheme. IMG_2314

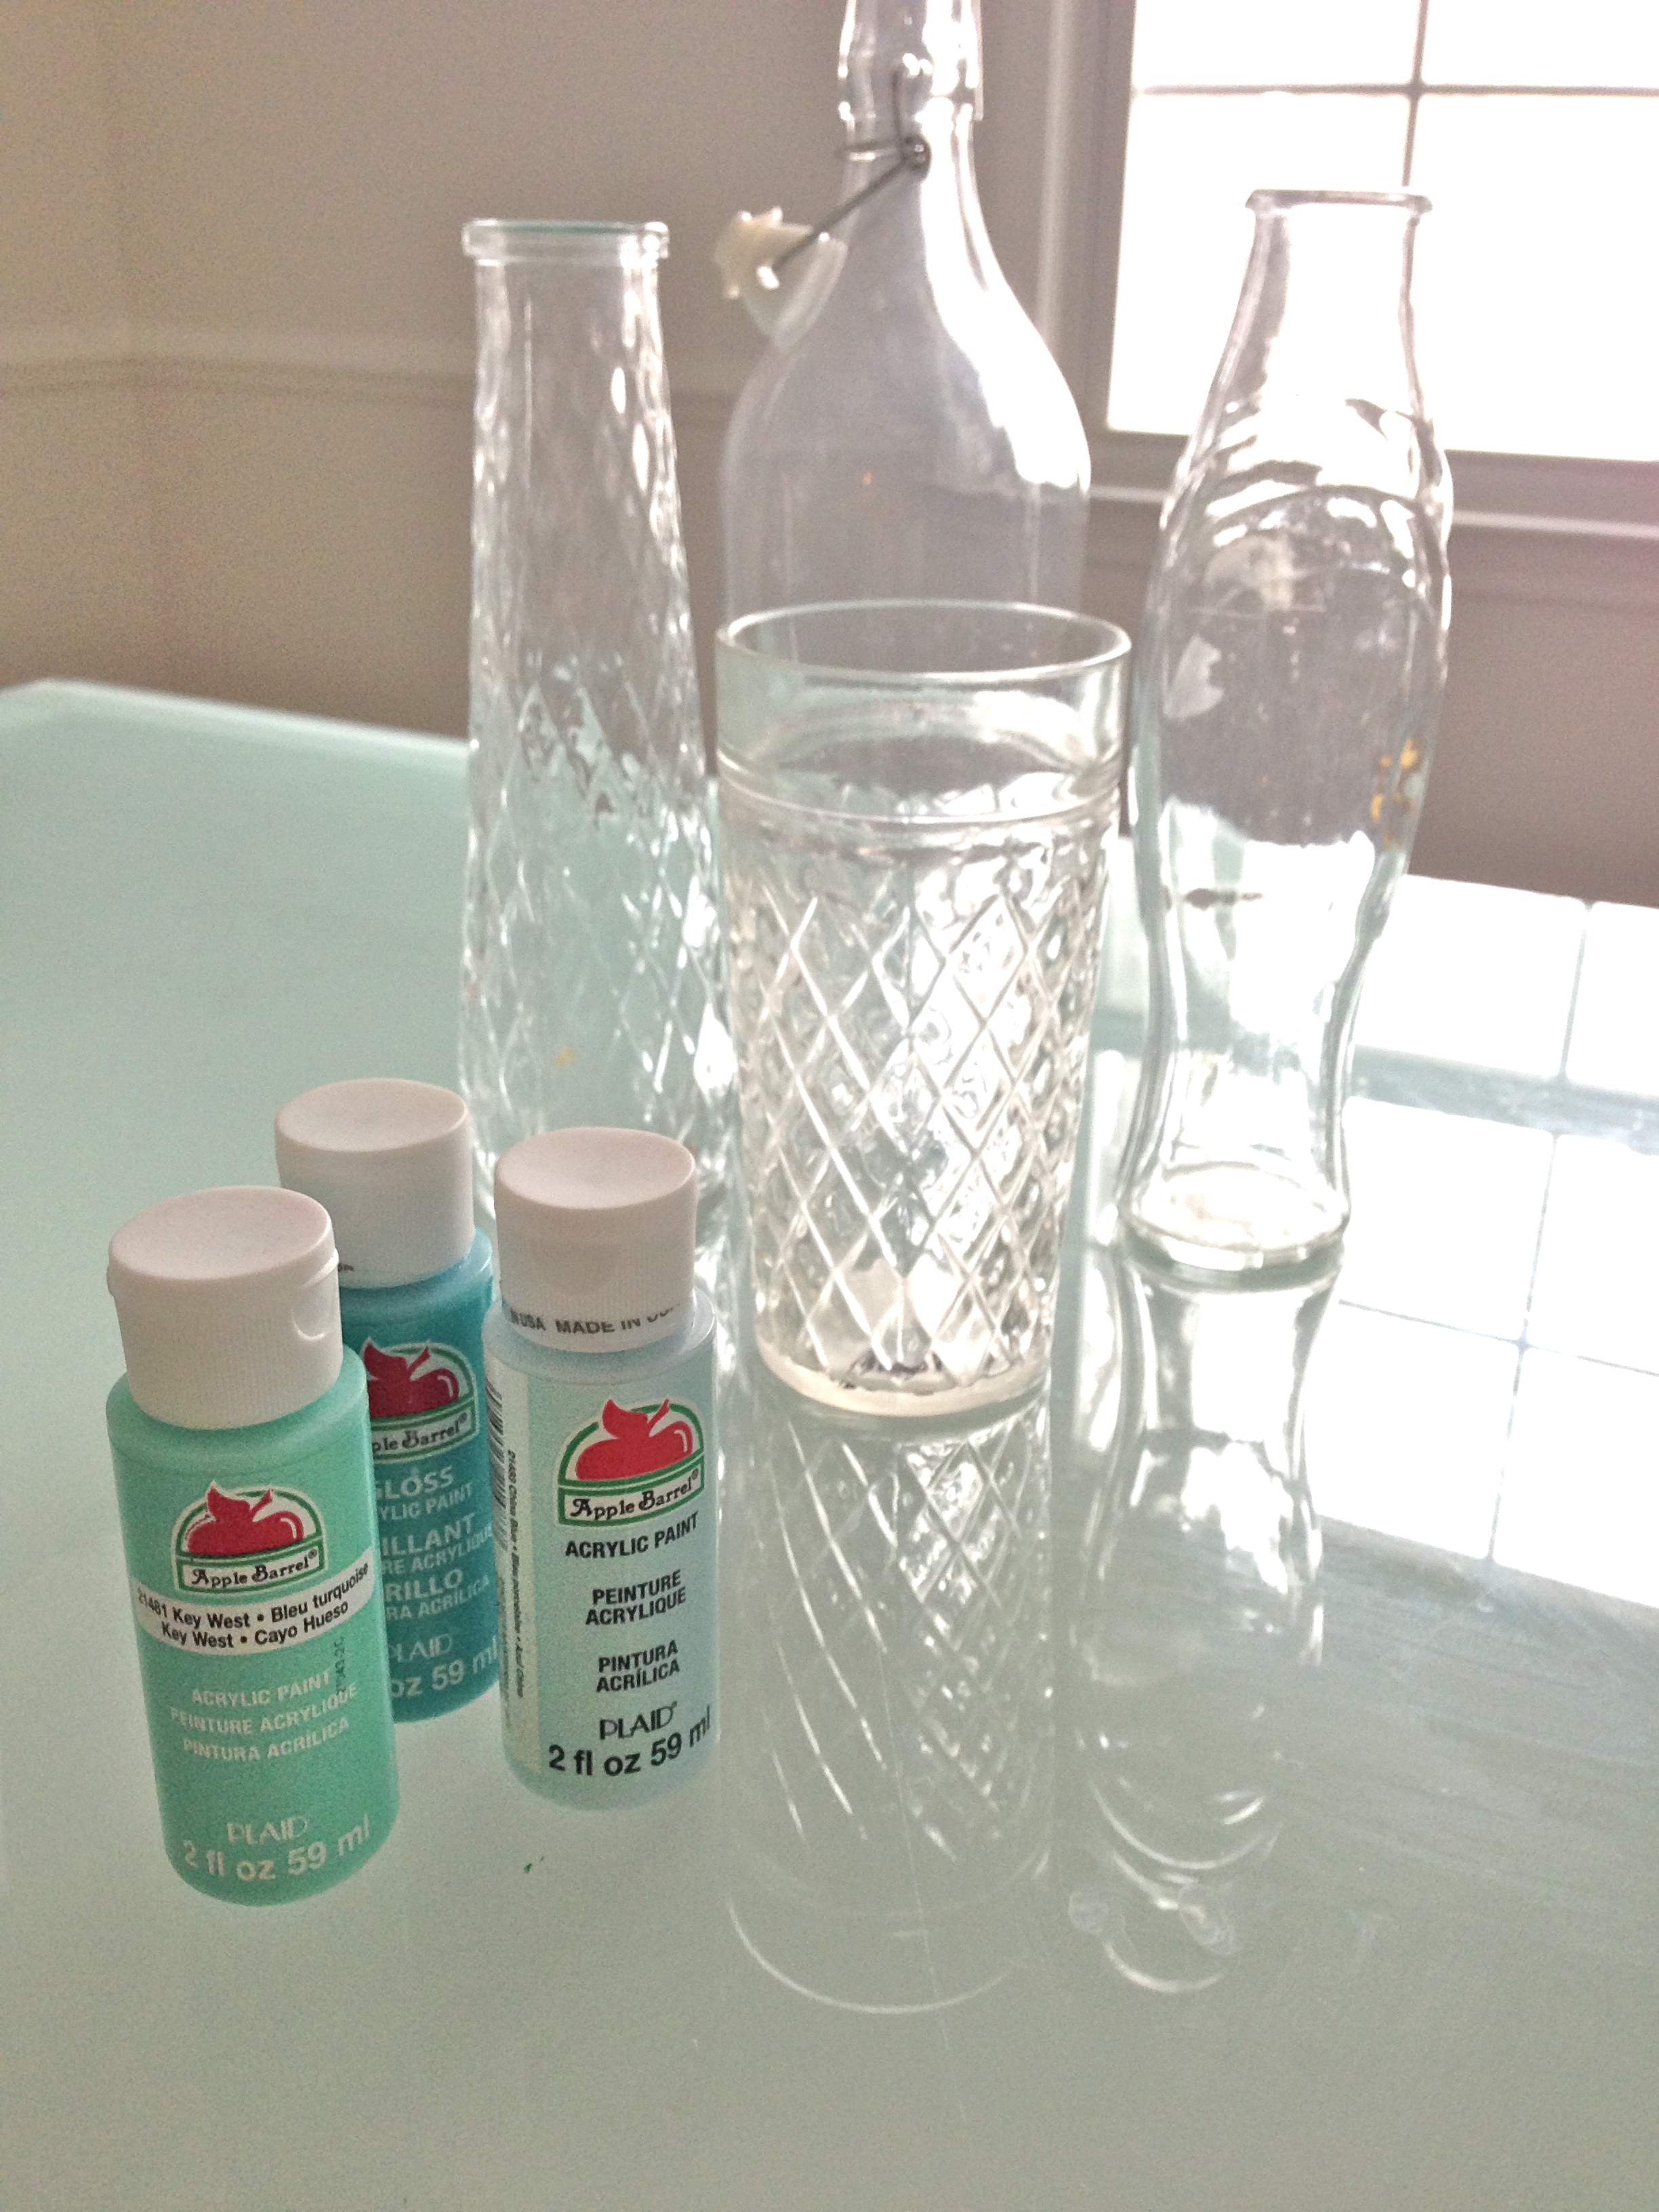
I chose shades of blue and minty greens. Also note that I used two different kinds of paint, these acrylic Plaid paints and indoor latex paint (left over from painting my bedroom).  I liked the acrylic paints so much better. I’ll explain why down further.

IMG_2322

Then all you do is squirt the paint in the jar and swirl it around till all areas are coated with paint. You could even mix colors to give it a marbled look if you wanted. The sky is the limit!!

IMG_2325IMG_2328

The reason I liked the acrylic craft paints the best is because for small vases its so much easier, and less messy, to squirt the paint in small amounts into your glass object. With my gallon of latex I had to use a funnel and it got all over the place!! Anyways just keep swirling to your desired look. I ended up taking a small paint brush and helping the paint along in some areas.

IMG_2331

Look how pretty, and expensive they look now! This project is so easy, and you can’t mess it up. Another idea I had was to spray paint the outside with a frosted spray paint. Walmart sells a clear frosted rust oleum spray paint, and I love it for so many reasons!!!

9d0df620ab4718af5465f7562dac5bb7

Image via A beautiful mess blog.

1620365_750230406883_1166022329_n

Then I just went to Michaels and purchases some spring flowers and wah la!I love the way they turned out!! Such a great addition to my mantel. Here is the blog that first gave me the idea.

1796459_750230366963_986289537_n 1900058_750230351993_545026559_n1622748_750230386923_1692786521_n

Oh and I just noticed I’m missing a few hedge apples (fake from crate and barrel). My kids think they are balls….grrr I’m going to have to go hunt those down now. Happy crafting!


xo,


Mandy

Easy Mosaic Wall

Decorating Kempton’s room has been really fun for me. I have been dreaming of the all the little details since he was in my belly and finally finally I’m getting to make it just the way I want it! Many ideas have changed over the two years of planning, but one thing that I knew I had to have was an accent wall. Originally I thought I would do some kind of wallpaper but after many hours of online hunting I never found the perfect pattern. One night I pinned this on pinterest and I was hooked. The design is so current with the whole triangle/prism craze. Not to mention the silver and gold that I incorporated in. Plus I love that it is just paint so if I ever get another bright idea I can easily change it. (Brooks never knows what he will come home to.) The whole process only took me three naptimes. It is very easy and very customizable. The hardest part was waiting for the paint to dry!!

What you need….

604012_728014512713_372741075_n

First you need to make sure the wall you are painting the pattern on is already the color you want the lines of the triangles to be. Then choose a color to be the primary color of the wall. I chose Valspar Silver leaf (light grey with a hint of blue) I bought a quart and had just enough. My wall was about 8 feet by 12 feet. You will also need some additional colors if you choose to paint some accent triangles on the wall. The sample sizes work perfectly for this.  You will of course need painters tape, and lots of it! A roller with 3/8 nap, paint pan and liner (not pictured), putty knife, and different size paint brushes. Then let the taping begin!!


1425557_728012032683_871828297_n

There was really no rhyme or reason to my madness here. Just start going at it because this is the most time consuming part. It really doesn’t even matter if your lines are straight. It all looks good in the end. After you get the tape on it is VERY IMPORTANT that you press it all down with a putty knife or wallpaper smoothing tool. You do not want your paint to bleed through!!

1455170_728012002743_1039375592_n

Next start cutting in with your primary color. Then go ahead and roll over the whole wall.

1457696_728011887973_911463822_n

Then you get to paint your accent triangles. At first I was going to use a rust color and a deep green (nocturnal green) but I decided to nix the rust and go with green, gold and chrome. I wanted most of my wall to be the light grey color so I made sure to only paint a few triangles with the accent colors. Make sure you stay in the lines!! The metallic colors took about three coats so at this point it was a waiting game. I was dying to pull the tape off!! It’s really hard to fix anything once the tape comes off, so you want to make sure everything is covered well before you rip.

1461042_728011843063_2086789984_n

575227_728011863023_771311243_n1455112_728014537663_133203116_nIMG_4195  IMG_4188IMG_4191 IMG_4190  IMG_4187

I’m so happy with how the wall turned out! I still have so many other details to add to his room, but it is all starting to come together. Stay tuned for a complete room tour in the future.

Details: crib-Pottery Barn, stuffed lion- jellycat (similar), crib blanket- Little Hip Squeaks (similar mine is a discontinued pattern), pyramid lamp- Crate and Barrel (very old), sheep skin- Ikea, moccasins- Freshly Picked.